Running Angular2 App on Azure App Services with CI and CD
Angular 2 is the next version of massively popular MV* framework(Angular) for building complex applications in the browser (and beyond).
Angular 2 comes with almost everything you need to build a complicated frontend web or mobile apps, from powerful templates to fast rendering, data management, HTTP services, form handling, and so much more.
In this blog I would provide instructions to run Angular2 App in Azure App Services.
####Pre-Requesites 1) Install Nodejs : https://nodejs.org/en/download/ 2) Install Angular CLI : https://cli.angular.io/ 3) Create a App Services Web App in Azure Portal
- Navigate to Azure Portal and click on Web+Mobile option to select Web App
- Finish Next steps to create a web app by providing necessary details.
- Set-up Continuous Deployment. Details are available at https://docs.microsoft.com/en-us/azure/app-service-web/app-service-continuous-deployment. For this blog, I’m using local git deployment.
You can find a Sample Angular2 project with below operations @ GitHub Link
Create Sample Angular2 Project
ng new PROJECT_NAME
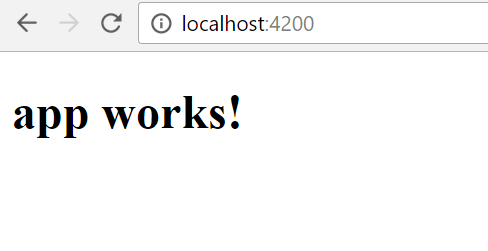
Run App in Local Environment
cd PROJECT_NAME
ng serve
Changes to Deployment Script
Azure Source Control deployment process would involve below steps
- Moves content to azure web app
- Creates default deployment script, if there is no .deployment file in web app root folder
- Run’s deployment script. In case of a nodejs app it would do npm install here
At Step 2, Instead of deployment process creating a default script. We can include custom deployment script and change it’s content to run other tasks.
I have a separate Blog on this topic. Please Refer https://prmadi.com/azure-custom-deployment/
We would basically need to add two new files
.deployment file with below content inside it
[config]
command = bash deploy.sh
deploy.sh file with content from Link.
######What are we doing in this deploy.sh other than default actions ?
- Install node modules (By default it would ignore devDependencies as NODE_ENV would be production, So we need to change Deployment Script to run extra npm install with –only=dev flag)
# 3. Install NPM packages if [ -e "$DEPLOYMENT_TARGET/package.json" ]; then cd "$DEPLOYMENT_TARGET" eval $NPM_CMD install --production eval $NPM_CMD install --only=dev exitWithMessageOnError "npm failed" cd - > /dev/null fi - Run Angular Prod Build, this will create a
distfolder and inserts all required files in it.# 4. Angular Prod Build if [ -e "$DEPLOYMENT_TARGET/.angular-cli.json" ]; then cd "$DEPLOYMENT_TARGET" eval ./node_modules/.bin/ng build --prod exitWithMessageOnError "Angular build failed" cd - > /dev/null fi####Change Virtual applications and directories to use
site\wwwroot\distfolder As i have mentioned in previous step, Angular prod Build will create adistfolder which has required code to run app but Azure webapp ROOT folder issite\wwwroot.
This can be easily altered using Virtual applications and directories section available in app settings. Change site\wwwroot to site\wwwroot\dist and your app should be up and running

WEB_APP_GIT_URL
git init
git add .
git commit -m "initial commit"
git remote add angularapp WEB_APP_GIT_URL
git push angularapp master
Here is my App on Azure After publish
You can find a Sample Angular2 project with above operations @ GitHub Link
Troubleshoot
First Time deployment took very long : This is expected behavior as it has to install all node modules listed in package.json file.
404 error after refreshing url on custom/dynamic url We use the IIS server to server the Angular application. Below is the web.config file for hosting it. That’s all needed.
<configuration>
    <system.webServer>
    <rewrite>
        <rules>
            <rule name="RewriteToIndex" stopProcessing="true">
                <conditions>
                    <add input="{REQUEST_FILENAME}" matchType="IsFile" negate="True"/>
                </conditions>
                <action type="Rewrite" url="index.html" />
            </rule>
        </rules>
    </rewrite>
    <staticContent>
         <mimeMap fileExtension=".json" mimeType="application/json" />
    </staticContent>
  </system.webServer>
</configuration>


